
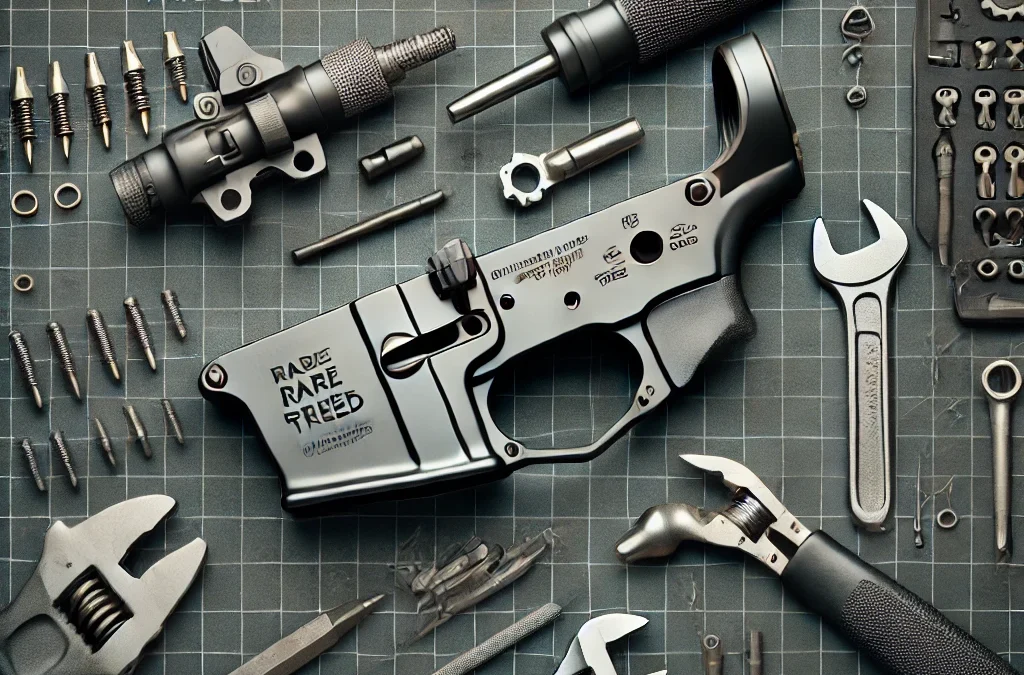
How to Install a Rare Breed Trigger: A Step-by-Step Guide
Installing a Rare Breed Trigger on your AR-15 can significantly enhance your firearm’s performance, providing faster reset speeds and improved shooting precision. While the process might seem daunting, this step-by-step guide will walk you through the installation, ensuring a smooth and successful upgrade. Whether you’re an experienced gunsmith or a first-time installer, this guide will make the process straightforward.
Tools You’ll Need
Before starting the installation, gather the necessary tools to ensure a seamless process:
- Hex Wrenches: For loosening and tightening screws.
- Punch Set: To remove and install pins.
- Hammer: For gentle taps during pin installation.
- Work Mat: Protects your workspace and firearm.
- AR-15 Lower Receiver Vise Block: Stabilizes your lower receiver during installation.
- Safety Glasses: Protect your eyes while working with springs and small parts.
Step-by-Step Installation Guide
Step 1: Ensure Safety
- Unload Your AR-15: Remove the magazine and check that the chamber is clear.
- Separate the Upper and Lower Receivers: Use the takedown pins to disconnect the upper receiver from the lower receiver.
- Work in a Safe Environment: Set up your workspace in a well-lit and secure area.
Step 2: Remove the Existing Trigger
- Release the Hammer Spring:
- Use your punch and hammer to gently tap out the hammer pin and remove the hammer.
- Remove the Trigger Assembly:
- Tap out the trigger pin using a punch. Carefully lift the trigger and disconnect it from the disconnector spring.
Step 3: Prepare the Rare Breed Trigger
- Unbox the Rare Breed Trigger and inspect all components for damage or missing parts.
- Familiarize yourself with the trigger assembly, including the sear, trigger, and reset mechanism.
Step 4: Install the Rare Breed Trigger
- Insert the Trigger Assembly:
- Align the Rare Breed Trigger assembly with the pinholes in the lower receiver.
- Insert the trigger pin through the receiver and the trigger assembly.
- Use a punch to ensure the pin is fully seated.
- Install the Hammer:
- Place the hammer spring over the hammer and align it with the pinholes.
- Insert the hammer pin and gently tap it into place with a hammer.
- Check for Proper Fit:
- Ensure the trigger assembly is secure and that the hammer moves freely when engaged.
Step 5: Test the Trigger Mechanism
- Perform a Function Check:
- Pull the trigger while holding the hammer and release it to ensure the forced reset mechanism works as intended.
- Reset the trigger multiple times to verify smooth operation.
- Safety Selector Check:
- Place the safety selector on “Safe” and ensure the trigger does not engage.
- Switch to “Fire” and confirm that the trigger resets after each pull.
Step 6: Reassemble Your AR-15
- Reattach the upper and lower receivers using the takedown pins.
- Verify that the firearm cycles properly and the Rare Breed Trigger operates as expected.
Tips for a Smooth Installation
- Follow Manufacturer Instructions: Always consult the Rare Breed Trigger’s user manual for specific installation details.
- Use Proper Tools: Avoid makeshift tools to prevent damage to your firearm.
- Seek Professional Help: If you’re unsure about the installation, consult a qualified gunsmith.
Legal Considerations
Before installing a Rare Breed Trigger, ensure compliance with local, state, and federal firearm regulations. The legal status of forced reset triggers, including the Rare Breed Trigger, has been subject to scrutiny. Stay informed about current laws and any changes that may affect your ownership and use.
Conclusion
Installing a Rare Breed Trigger is a worthwhile upgrade for AR-15 owners seeking enhanced performance and firing speed. By following this guide and ensuring proper tools and safety measures, you can successfully install the trigger and enjoy its benefits. Always prioritize safety and compliance with firearm regulations to maximize your shooting experience.